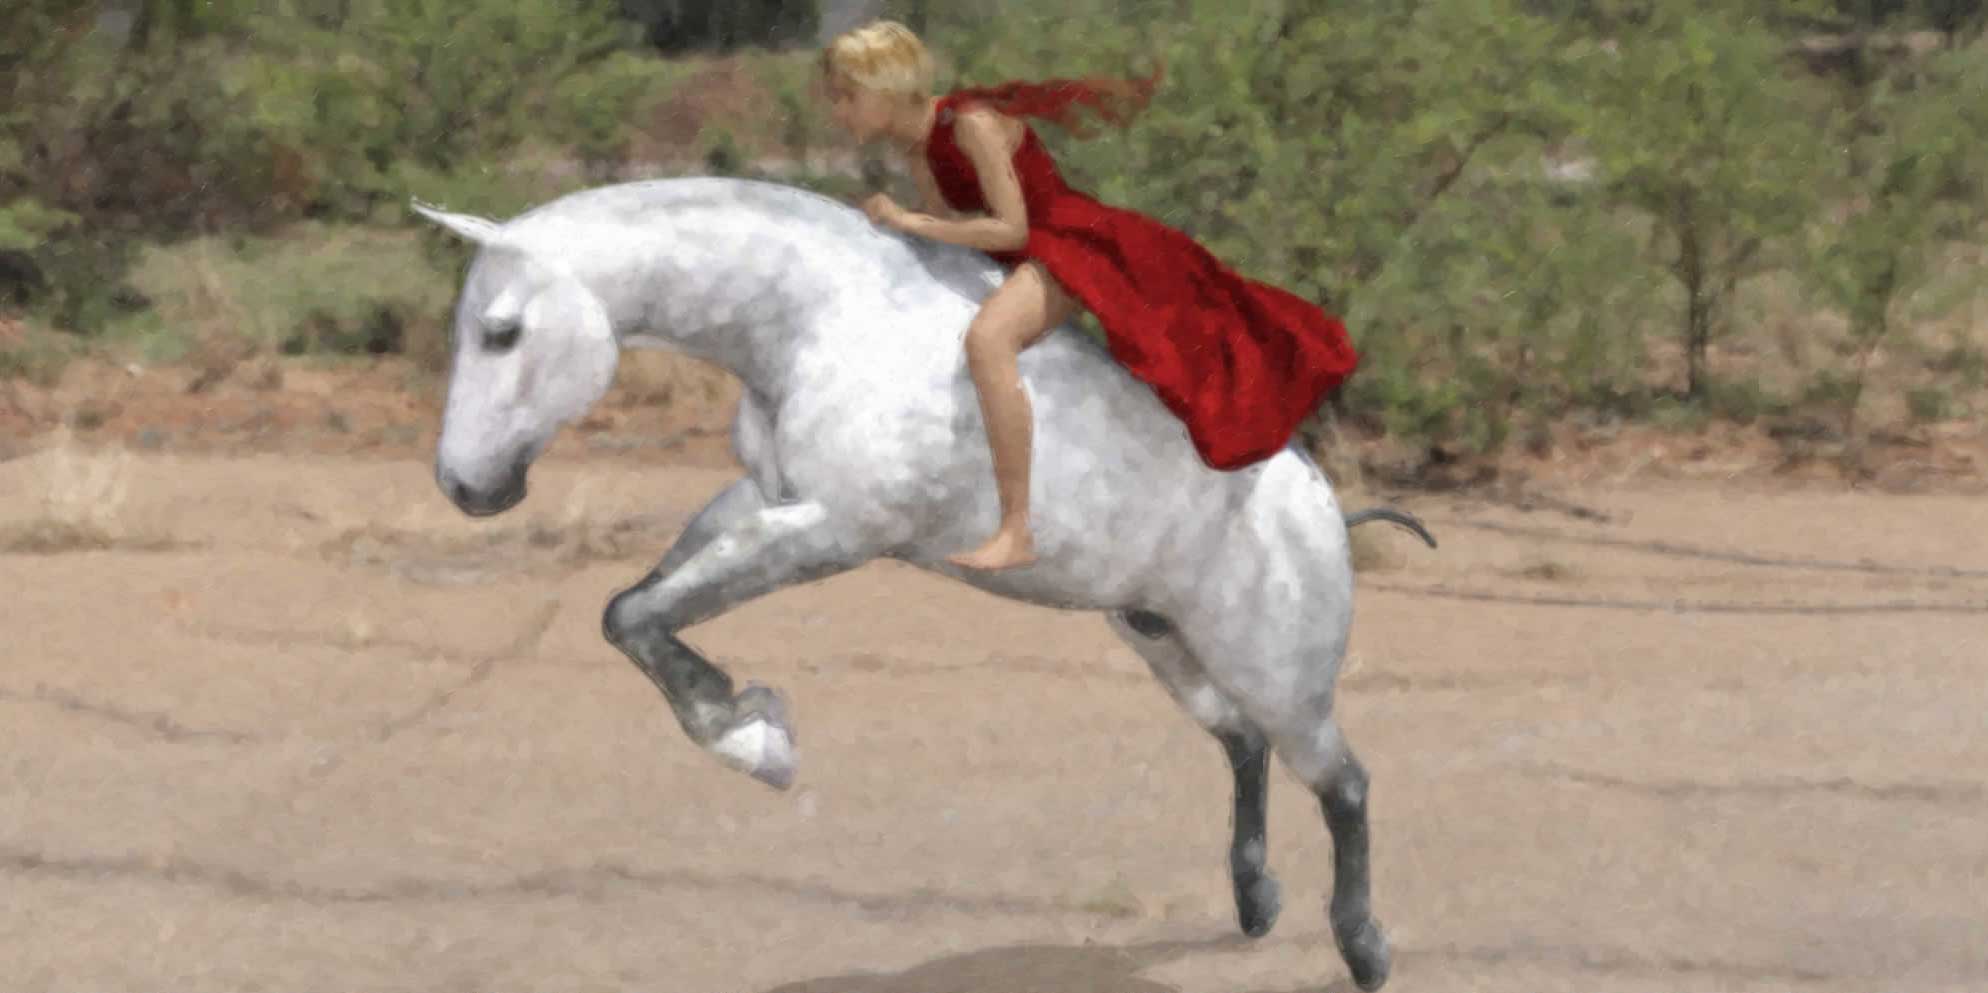
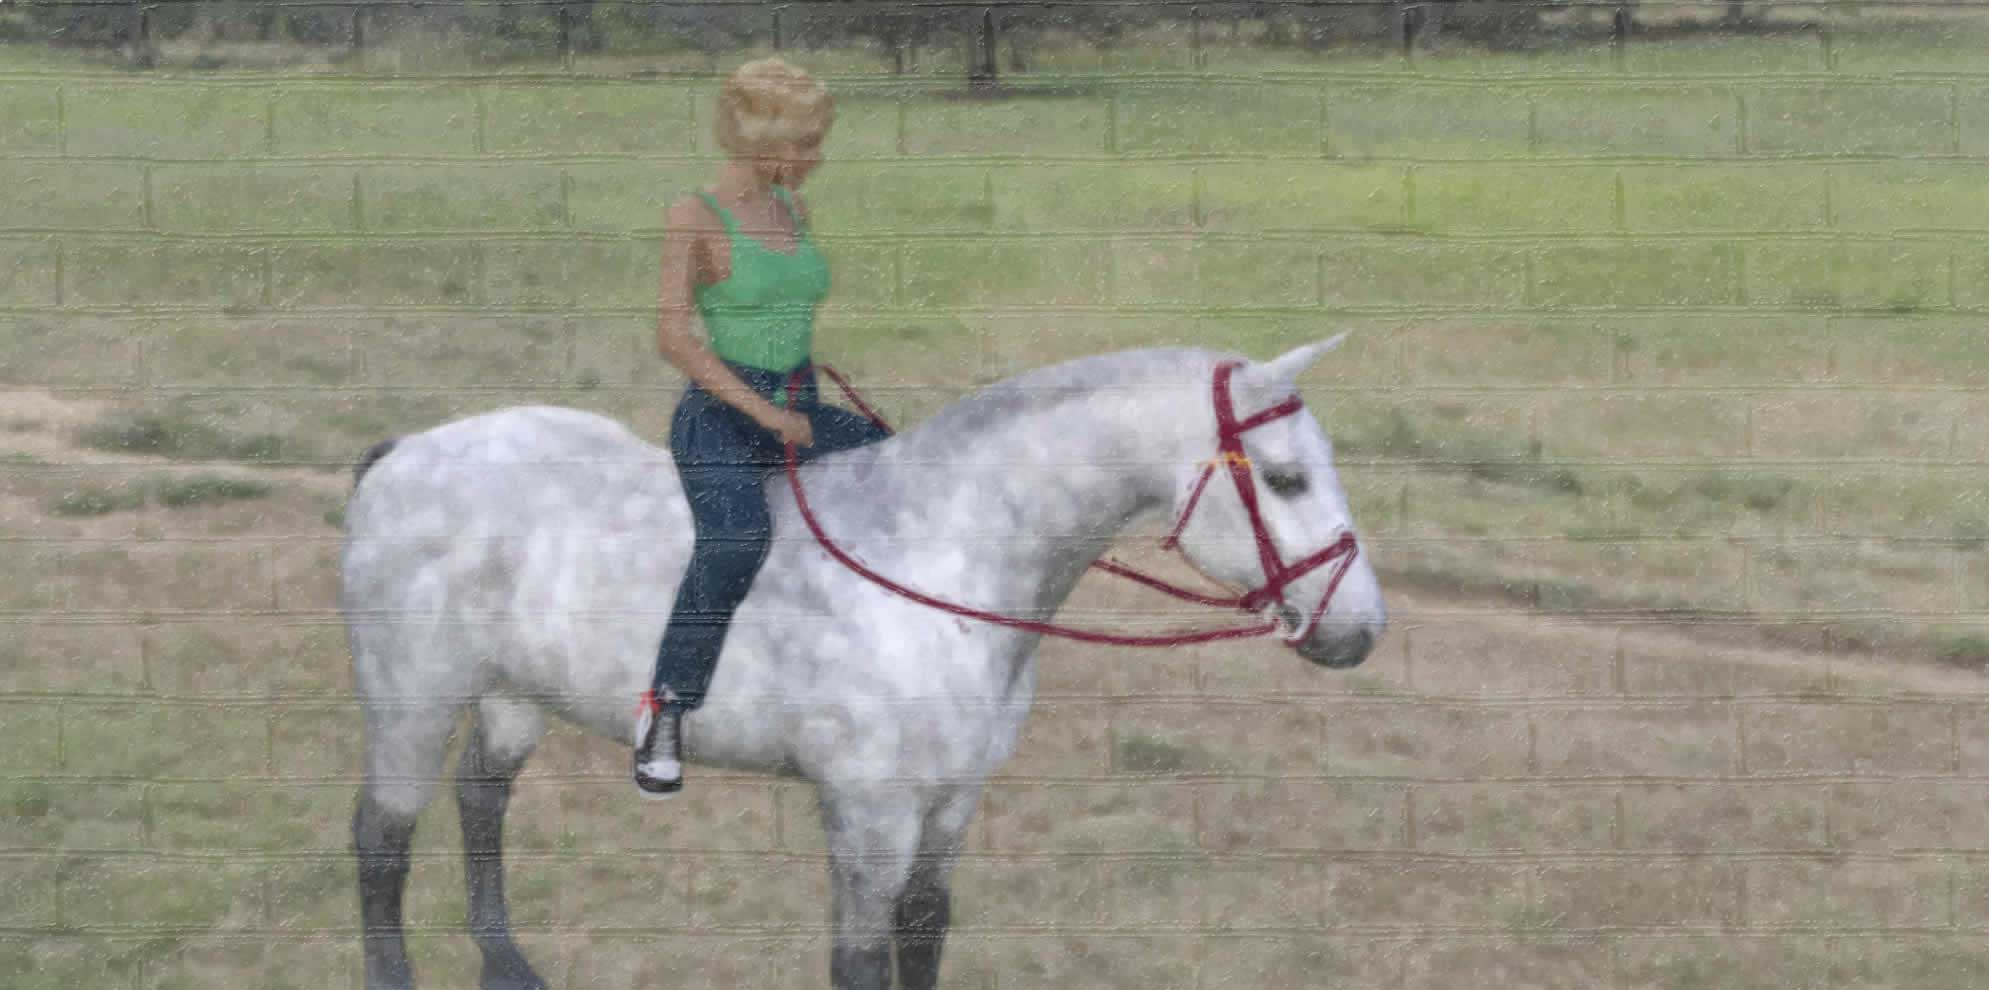
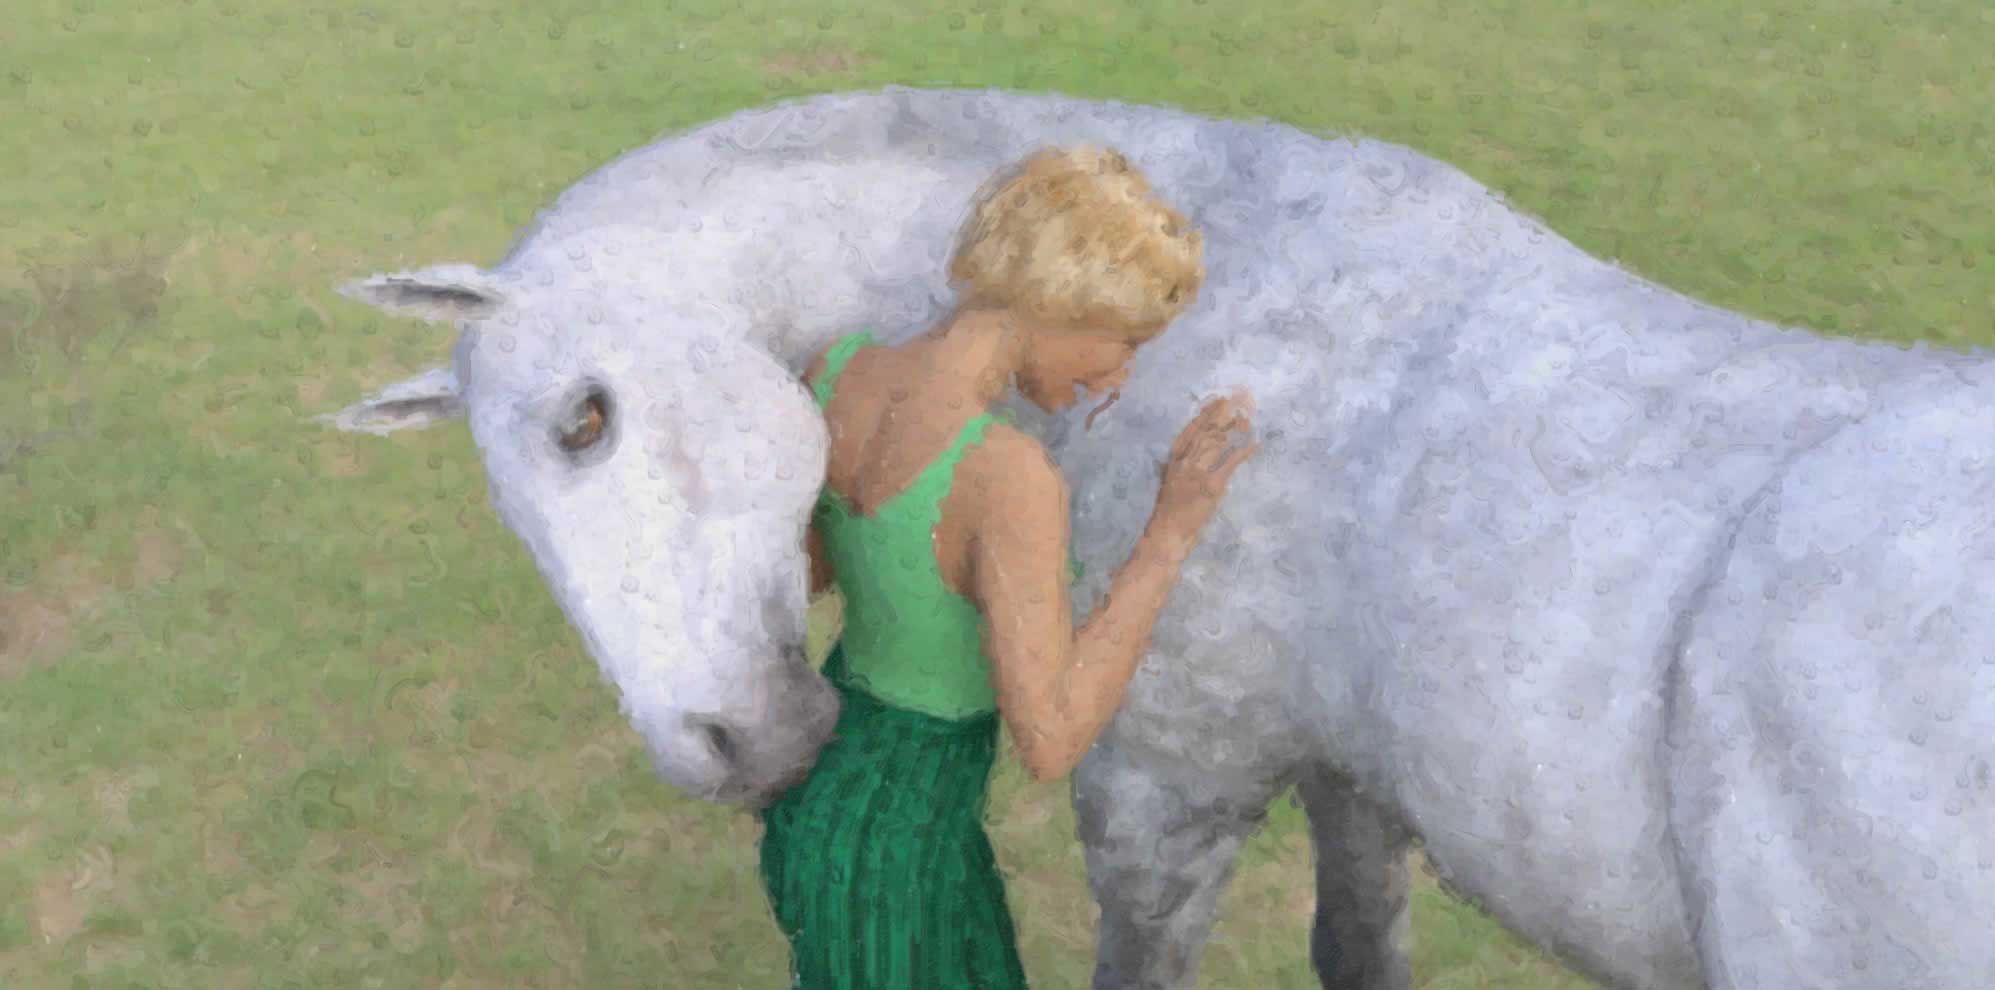
How To Create A Beautiful Horse Painting
Painting a horse is a great way to practice your artistic skills and create a beautiful piece of art. Whether you are a beginner or a more experienced artist, with the right guidance you can create a stunning painting.
On this website, we will take you through the process of drawing and painting a horse, from start to finish. You will learn the basics of colour theory and how to mix colours, as well as brush techniques and how to use various mediums, such as acrylic and oil paints.
With this comprehensive guide, you will be able to create a beautiful painting of a horse that you can proudly display in your home. So, let's get started and discover the art of painting a horse!
Materials Needed
As with any artistic endeavour, you will want to create a well-stocked palette. First, you will need a variety of brushes. While you can use any type of brush you like, natural bristles are best. Natural brushes are good for acrylics and are easier to clean. You'll also need an assortment of paintbrushes, from very small to very large.
You will also need a palette, which can be a piece of wood that you can paint on and then put a wet paper towel over. You will also want to have paper on hand, as well as a pencil and an eraser.
For water, use distilled water to avoid mineral buildup in your paints. A dust brush will help remove excess pigment from the palette and a ruler or straight edge is helpful for consistent lines.
For paints, use high-quality paints. Many brands offer student grade and professional grade paints. Professional grade paints are more expensive but are higher quality, with more pigment and fewer fillers in the paint, so they're a better value in the long run. You can also mix your own colours using the primary colours of red, yellow and blue more easily with better quality materials.
Drawing the Horse
Before you begin painting, it's important to first sketch out your horse drawing. You can use the same pencil that you use for the final drawing or you can switch to a charcoal pencil or graphite pencil. The key is to make sure that your drawing is clean and clear so that you can easily transfer it over to your painting later.
When sketching out your horse drawing, remember that horses are diagonal creatures. This means that their bodies are slanted from back to front. Another thing to keep in mind when sketching out your horse drawing is the shape of the horse's head. Horses have a large head in comparison to their body. This is why many people associate horses with being intelligent.
Colour Theory
Horses come in a variety of colours, so when painting a horse, it is important to choose colours that will correctly represent the horse you are painting. When choosing colours for your horse painting, it is important to understand colour theory. colour theory can be a bit confusing, but once you understand it, it can be very helpful in choosing the right colours for your painting.
- Hue - This refers to the colour itself. For example, if you were painting a horse with a red body, the hue would be red.
- Value - This refers to the lightness or darkness of a colour. To create depth in your painting, you would want the darker colours closer to the background and the lighter colours closer to the foreground.
- Temperature - This refers to the warmth or coolness of a colour. To add interest to your painting, you might want to use a warm colour in the foreground and a cool colour in the background.
Mixing colours
To create your horse's coat, you will need to mix colours. Understanding how to mix colours is a crucial step in painting a horse. Mixing colours is all about colour combinations. Once you have the three base colours, you can mix and match them to create other colours. Each colour has a combination of the three elements that make up colour: hue, value and temperature.
- Hue - The most common way to get a new colour is to change the hue. For example, if you wanted a brown horse, you would add a little bit of red and yellow to your base colour, blue-gray.
- Value - The other way to get a new colour is to change the value. If you wanted to make a darker brown, you would add black to your blue-gray to get a black-brown.
- Temperature - The other way to get a new colour is to change the temperature. For example, if you wanted to make a blue horse that was a little bit warmer, you would add a little bit of red to your blue-gray.
Brush Techniques
Brush techniques are very important when it comes to painting a horse. The brush you use will greatly depend on the type of horse you are painting. For example, if you are painting a horse with a long mane and tail, you would want to use a big, wide brush to create the long, flowing hair.
You can create a number of brushstrokes with a few different brushes:
- Wet Into Wet - When painting a wet into wet horse painting, you would apply the first layer of paint while the previous layer is still wet. This creates a smooth blending between the two layers of paint.
- Wet Into Dry - This is the opposite of wet into wet. In this method, you apply the first layer of paint while the previous layer is dry. This creates an interesting texture.
- Dry Into Dry - This is when the first layer of paint is dry and the second layer is dry. This creates a textured look with interesting brushstrokes.
- Dry Into Wet - This is when the first layer of paint is dry and the second layer is wet. This creates a smooth blending between the two layers of paint.
Painting with Acrylics
Acrylic paints are best for painting what is known as the middle-ground in your horse painting. This would include the horse's body and legs. When painting a horse with acrylics, it is a good idea to start with the background. This will allow you to blend your paints while they are still wet. To create a smooth blending, use a wide paintbrush.
When painting the body of your horse, make sure to leave some room between the horse's body and the background so that the body stands out. You can also add trees or other elements in the background to create depth.
Painting with Oils
Oil paints are a more advanced type of paint and take longer to dry, so they are better for more experienced artists. Depending on the type of subject you are painting, you can use either oils or acrylic paints.
For a horse portrait, start by mixing a warm gray with a blue gray and a warm orange. Apply warm orange on top of the warm blue-gray area to create a warm orange on the horse's body. Once you have finished painting the horse's body, use the warm gray and blue-gray to paint the horse's mane and tail.
When painting the horse's face, use a warm orange and blue-gray to create a warm orange on the horse's face. When painting the horse's hooves, use a warm gray and blue-gray to create a darker shade of warm gray on the hooves.
Finishing Touches
Once you have painted your horse, you can start finishing touches to really bring your painting together. You can add shadows and highlights to create a more natural look to your painting. You can create shadows using a blue-gray paint and a wash brush. You can create highlights using a warm orange paint and a detail brush. You can also add details such as grass, trees, or a fence to your painting. Once you have finished adding finishing touches, you can display your painting or create a framed painting to display in your home.